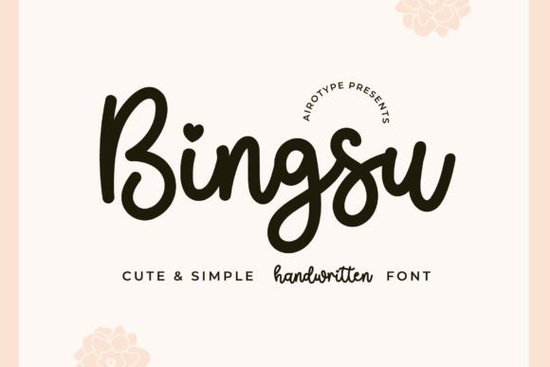
If you need a typeface that feels friendly, handwritten, and effortlessly casual, Bingsu Font delivers exactly that. It is a bold, simple script with a bouncy rhythm that reads clearly even at smaller sizes. Designers, crafters, and print-on-demand sellers often look for this kind of relaxed lettering because it adds personality without overwhelming the layout. Whether you are laying out a greeting card, preparing a sublimation transfer, or cutting vinyl stickers, the clean curves and consistent weight make it easy to work with across different software and materials.
What makes this handwritten style so easy to use?
The secret lies in its balanced proportions. Unlike heavily decorated scripts that struggle with readability, this typeface keeps the letterforms open and the connections smooth. The bold weight gives your text enough presence to stand out on fabric, paper, or digital mockups, while the casual bounce keeps it from feeling stiff. You will notice that the uppercase and lowercase characters share a consistent baseline rhythm, which means your lines of text stay aligned without manual tweaking. For small business owners who design in Canva, Illustrator, or Cricut Design Space, that consistency saves time during the layout phase.
Which projects get the most value from a bouncy script?
This style shines when your design needs a warm, approachable vibe. Here are the most common uses that actually convert well for makers and sellers:
- Greeting cards and stationery – Perfect for birthdays, baby showers, and thank-you notes where a personal touch matters.
- T-shirt and tote bag graphics – The bold strokes hold up nicely during screen printing, DTG, and heat transfer vinyl application.
- Stickers and planner accessories – Clean edges mean smoother cuts on standard hobby plotters and professional die-cut machines.
- Sublimation blanks – High contrast and simple curves prevent ink bleed from muddying the letters on mugs, tumblers, and apparel.
- Social media quotes and shop banners – Readable at a glance, which helps stop the scroll without looking overly polished.
How do you pair it with other typefaces without cluttering the design?
Scripts work best when they carry the main message, while a supporting font handles the details. If you want a soft, romantic feel, you might test it alongside a flowing alternative like a delicate handwritten option for secondary accents. For a more structured contrast, try matching it with a clean pencil-style typeface that keeps the overall layout grounded. When your project calls for traditional elegance, a classic cursive companion can add refinement to dates or small print. If you prefer something playful and colorful, a cheerful duo style works well for kids’ products or party supplies. And when you need extra weight for headlines, a thicker bold script can balance the composition without competing for attention.
What should you verify before adding it to your workflow?
Not all script fonts behave the same way across different programs, so a quick checklist prevents frustrating exports. First, confirm that the file includes standard OpenType features if you plan to use alternate glyphs or ligatures. Second, check the commercial license terms, especially if you are selling physical products or digital templates. Third, test the font at the actual print size you intend to use. Scripts that look crisp at 72 points can sometimes close up at 24 points, but the straightforward design of Bingsu Font tends to hold its shape well. Finally, run a quick cut test if you are using a vinyl cutter or sublimation printer. Thick, connected letters usually weed cleanly, but a practice run on scrap material saves money and prevents misaligned transfers.
Quick setup tips for reliable results
Getting consistent output comes down to a few small adjustments. Keep line spacing slightly loose so the descenders and ascenders do not touch. Use sentence case or title case rather than all caps, since handwritten styles are designed with lowercase flow in mind. When working with dark backgrounds, switch to a light or white fill to maintain contrast, and avoid adding heavy drop shadows that can blur the natural bounce. If your design software supports kerning, leave it on auto unless you notice specific letter pairs that need a manual nudge.
Before you start your next batch of products, run through this short prep list:
- Install the font files and restart your design software to clear caching issues.
- Type out your full message and check for spacing gaps or overlapping characters.
- Export a low-resolution proof to verify readability on mobile screens.
- Print or cut one sample on your actual material before committing to a full run.
- Save your license documentation in a dedicated folder for future marketplace audits.
With those steps in place, you can move from layout to production quickly, keeping your creative workflow smooth and your finished products looking polished.
Download Now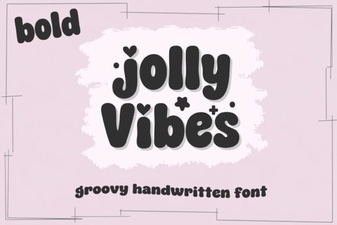 Creative Designs with Jolly Vibes Bold Font
 Elevate Your Design with Elegant Cursive Fonts
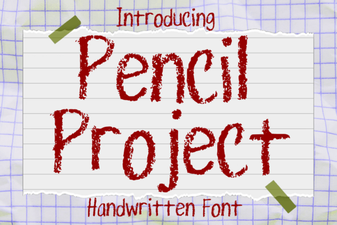 Design Your Website with the Pencil Project Font
 Angela Heart Fonts for Creative Designs & Craft Projects
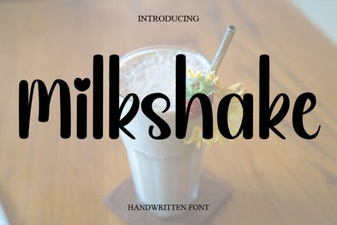 Milkshake Font Designs for Creative Typography
 Craft Your Own Font: a Homegrown Design Project